How can we help?
Exception Types
- What it is:
Type of problems employee face during task capturing is called exception. Bugs and error that we do not want to restrict out program is also known as exception. There are different types of exception. Examples are connection problem, file not found etc.
- What it looks like:

- Why do you use it:
An exception can be used to see the error message shown to the user while executing the program. A different error is shown at the time of execution like a run time error, null point error, etc. We can use this feature to show an error message to the user.
- How you do it:
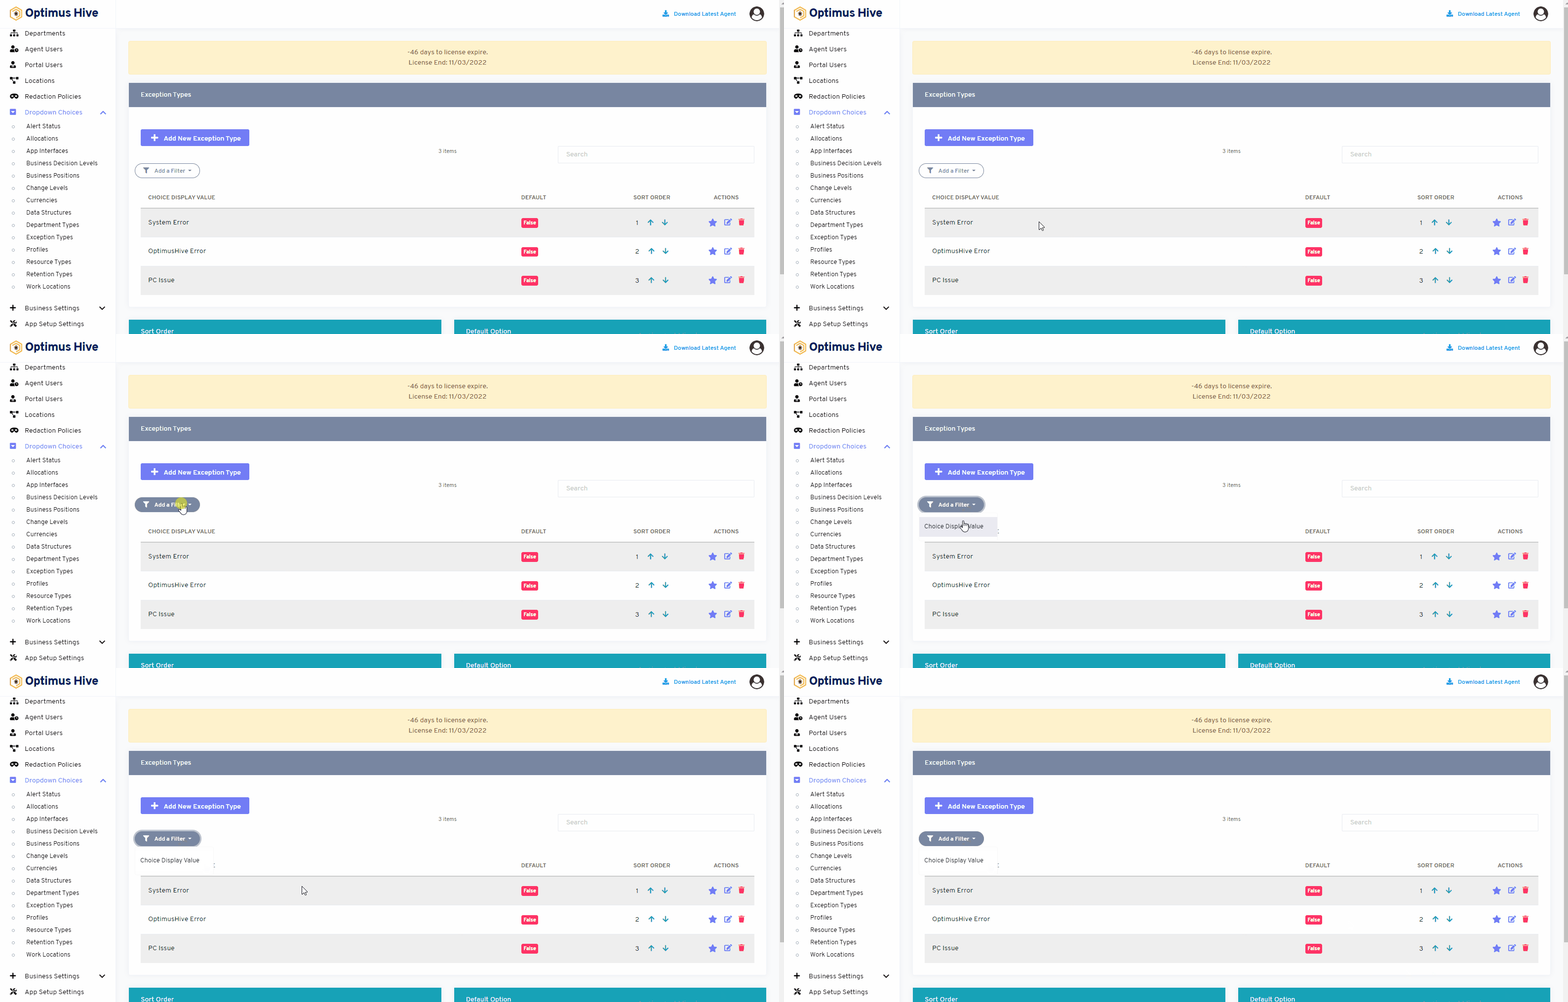
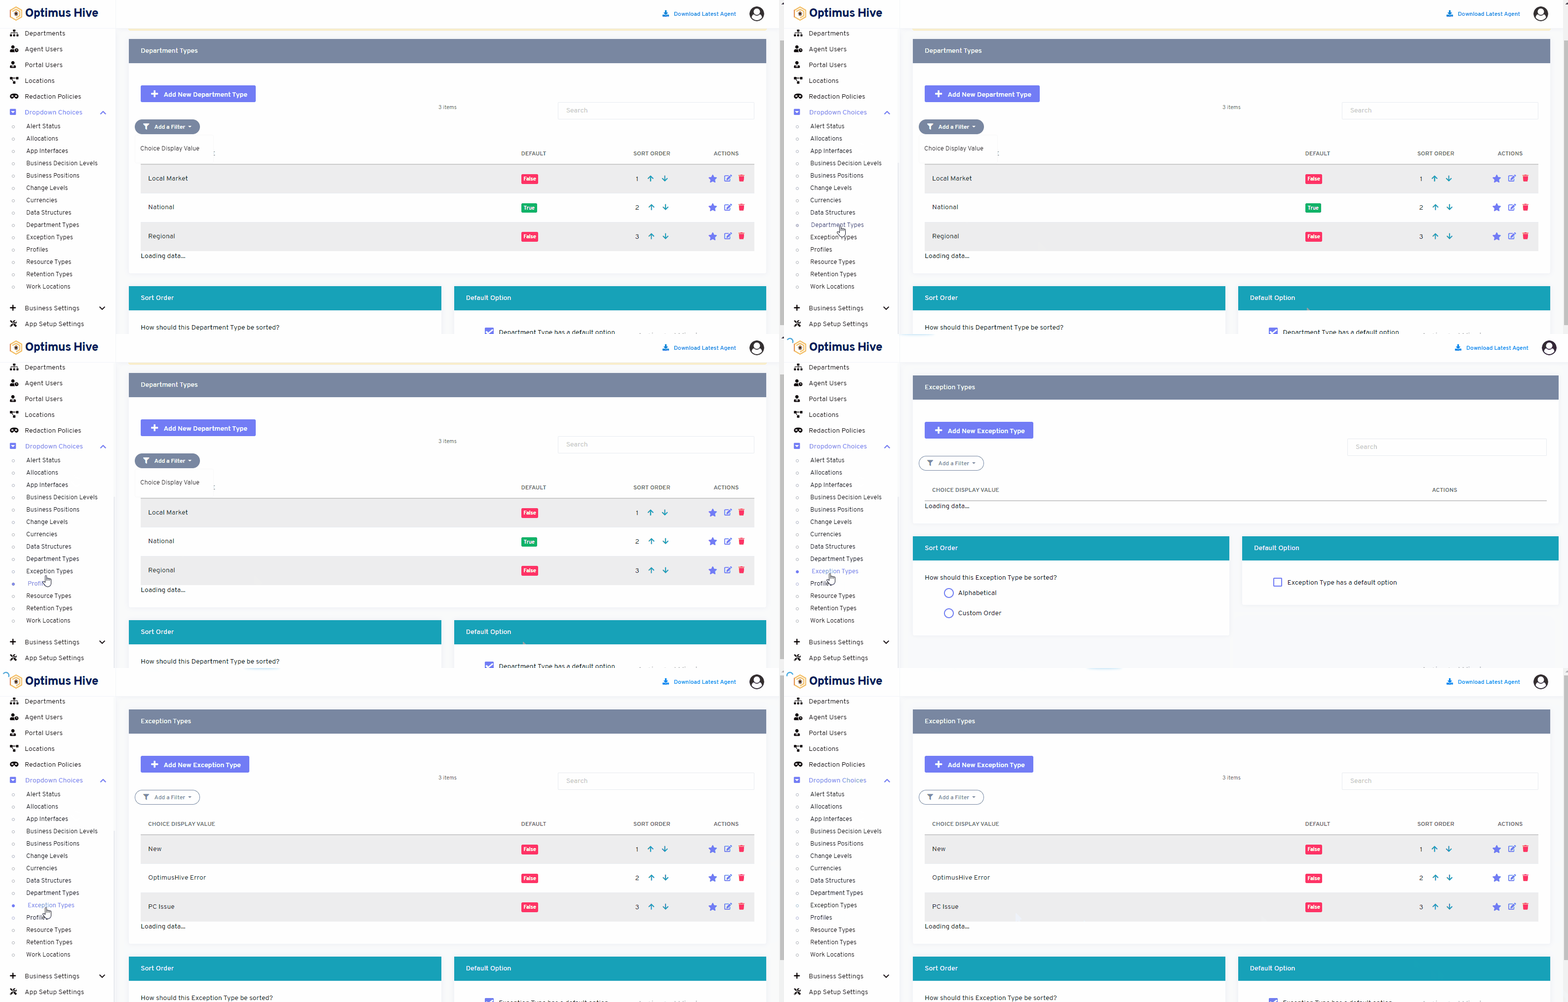
You can see the exception feature by clicking on the exception type’s option from the dashboard as shown in the screenshot image. A user can add, update or remove new exception types from the top left side of the window. You can also use a filter to see exception types in different orders alphabetically, by default, or by custom order.
How to edit Exception Types:
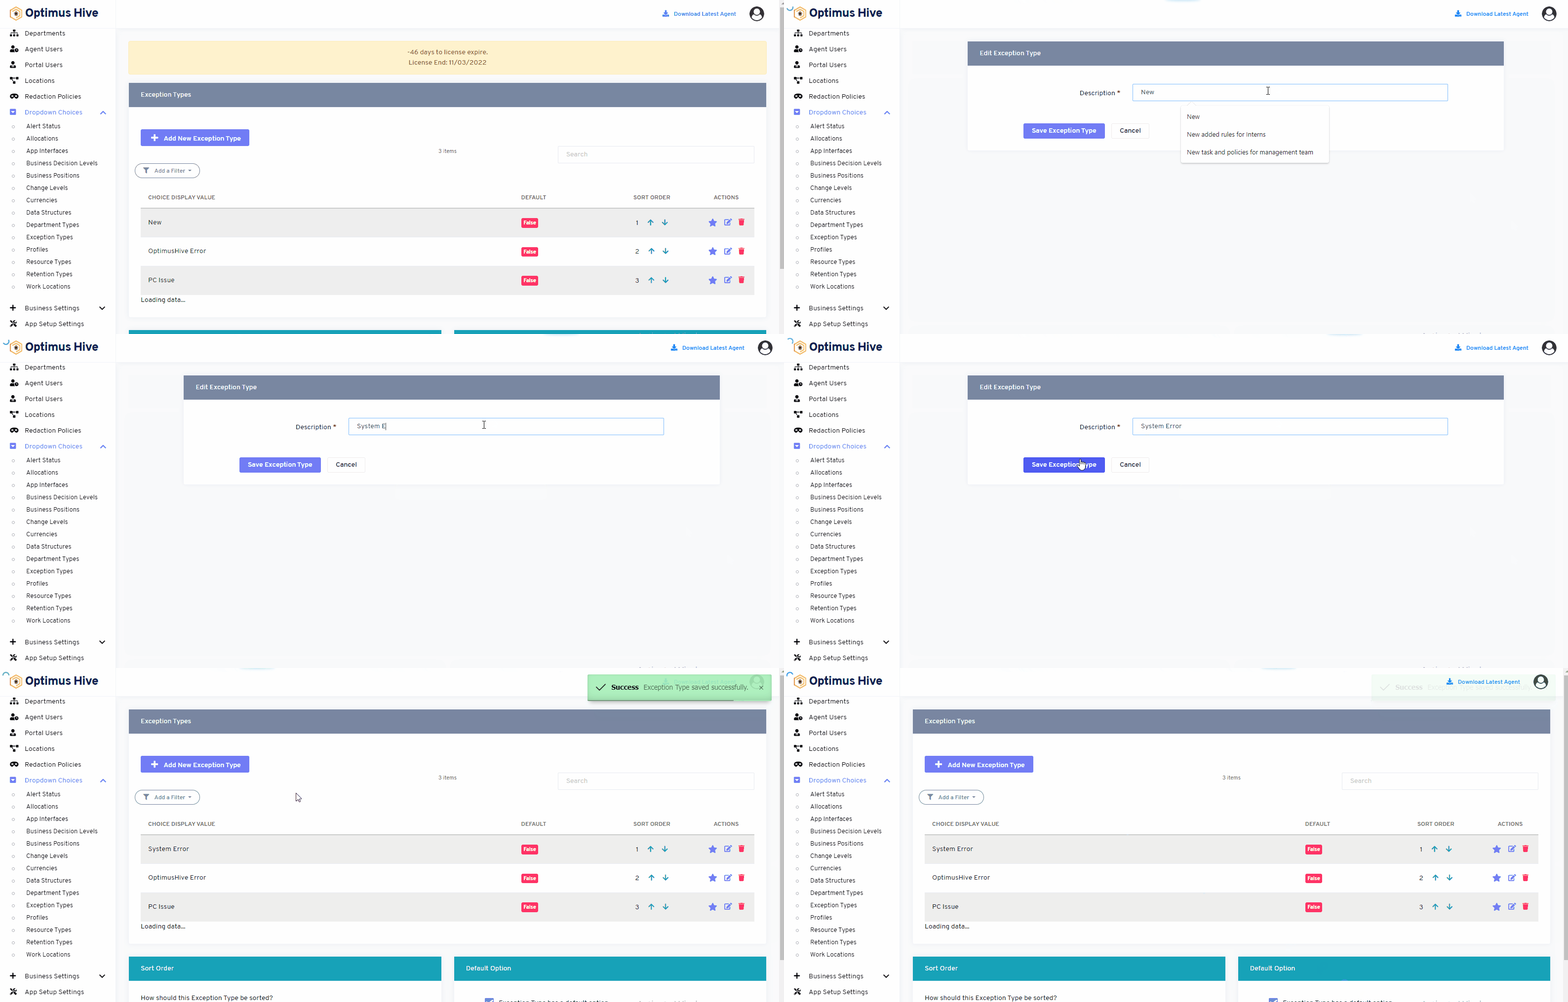
To edit the displayed text that will be visible in the dropdown choice, click the edit button on the far right side of the row that you wish to modify.
What is each of the FIeld in the list?
- Description: brief description for each task
Once you have modified the displayed text in the Description field, click the Save exception type button at the bottom of the screen.
For Instance:
Edit the Description field “New”, type “System Error”. and click Save it.
How to add a new Exception Type:
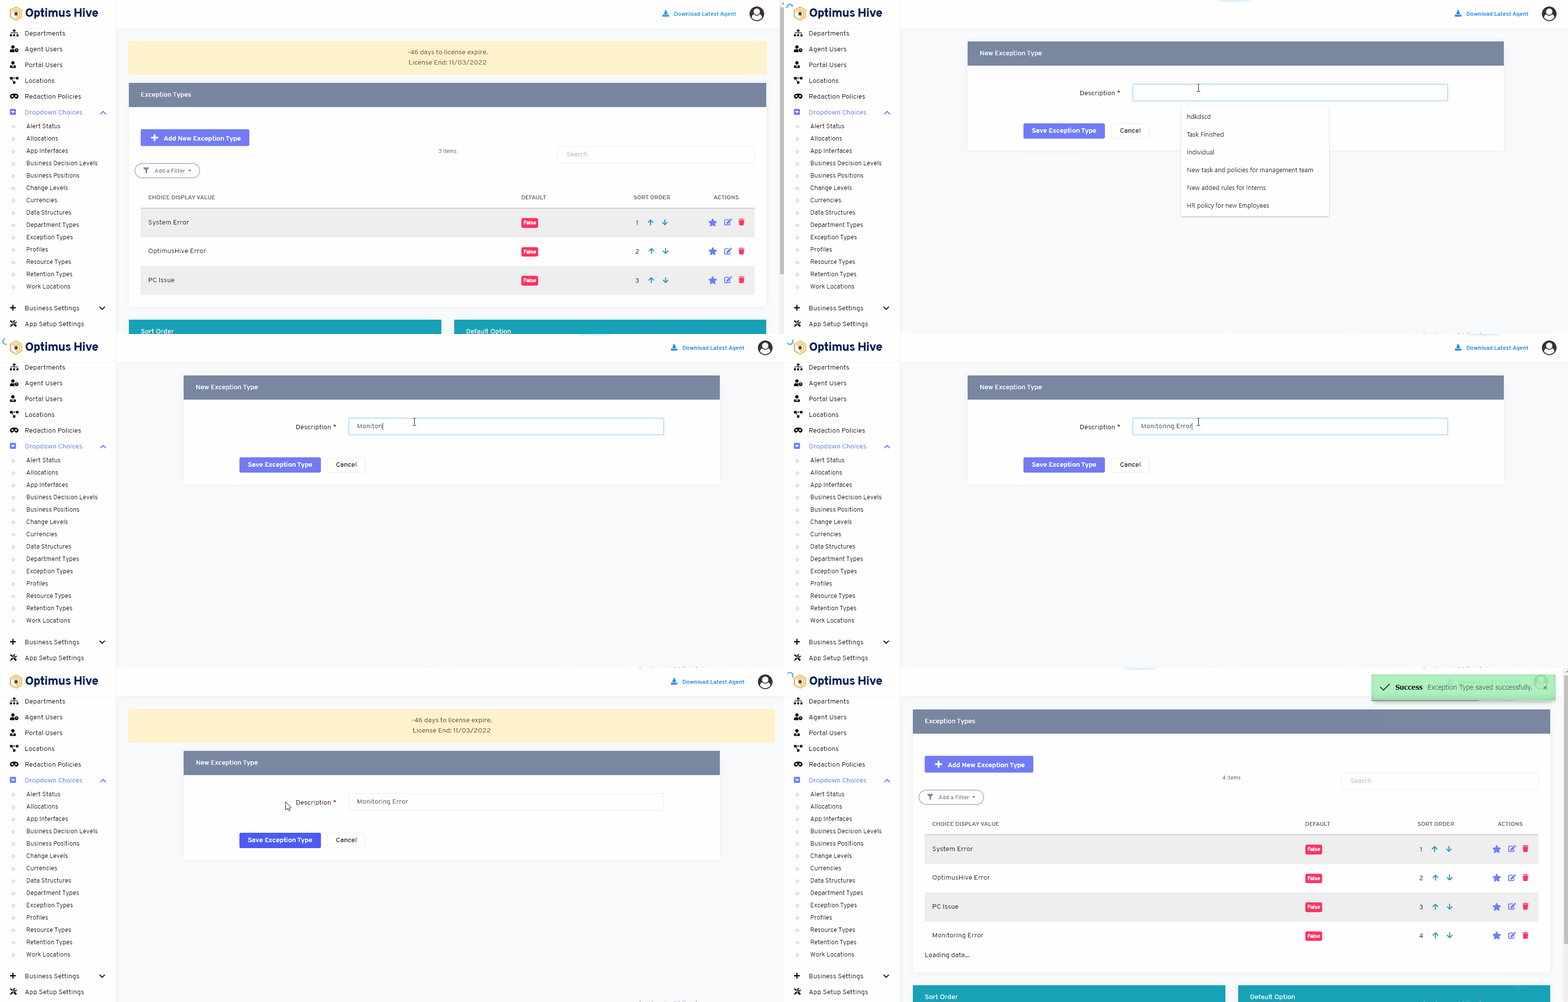
Add the Description field and type in the name “Monitoring Error”. Click the Save button.
How to delete the Exception Type:
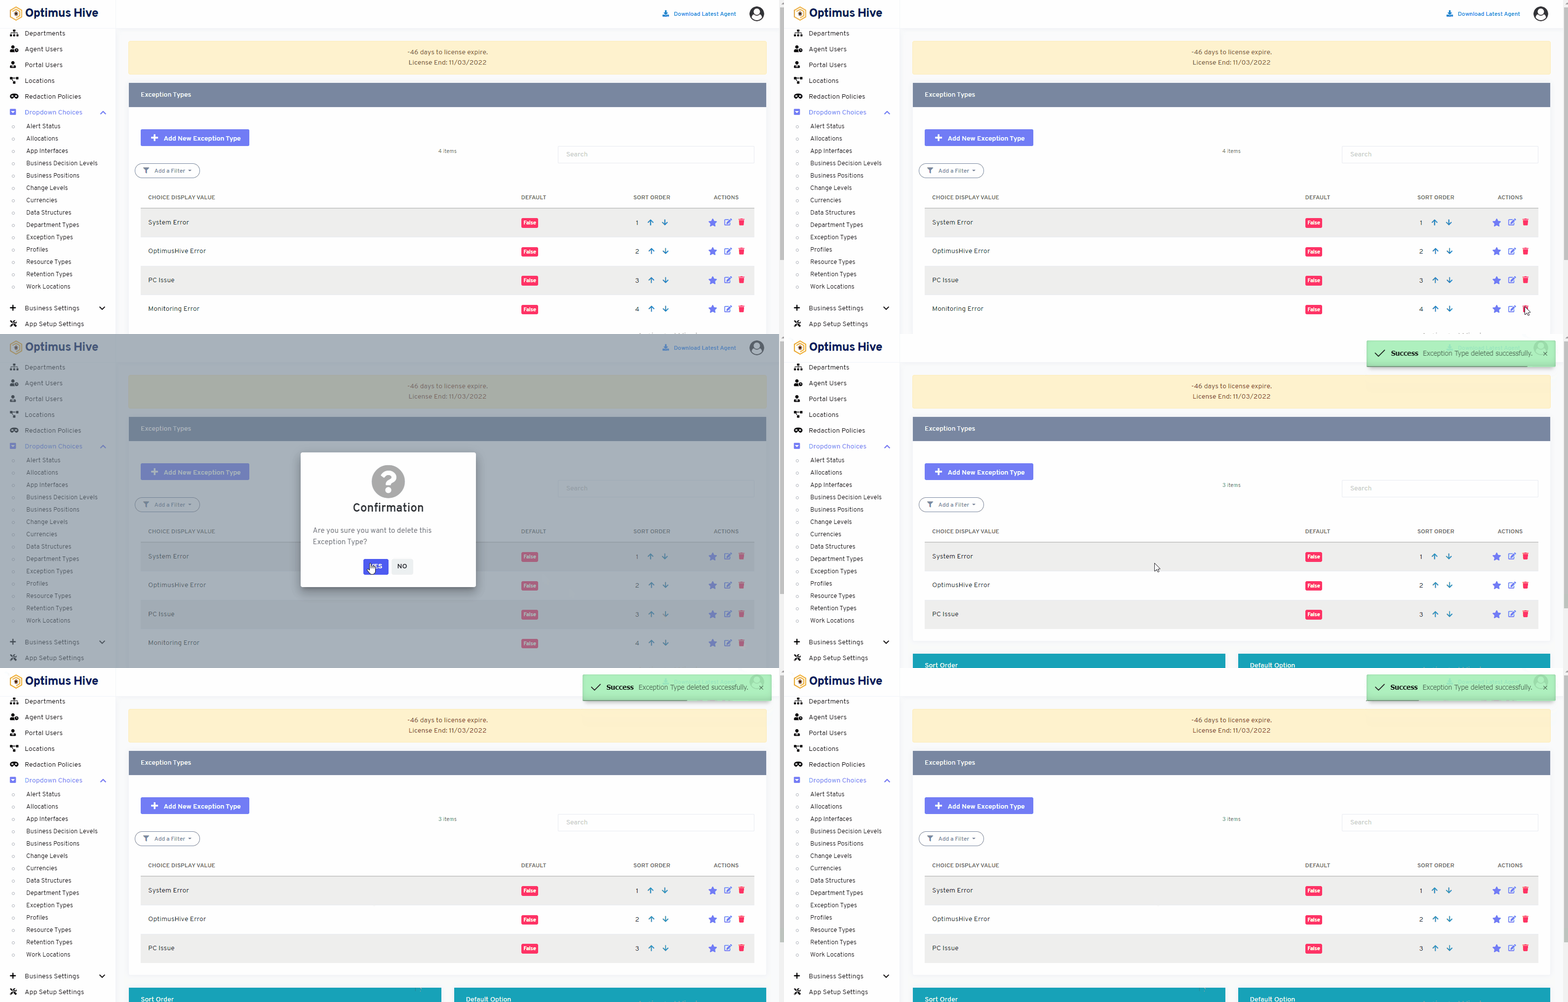
Sorting Exception Type:
Click in the Description field and type in the name of the new exception type and click the Save exception button.
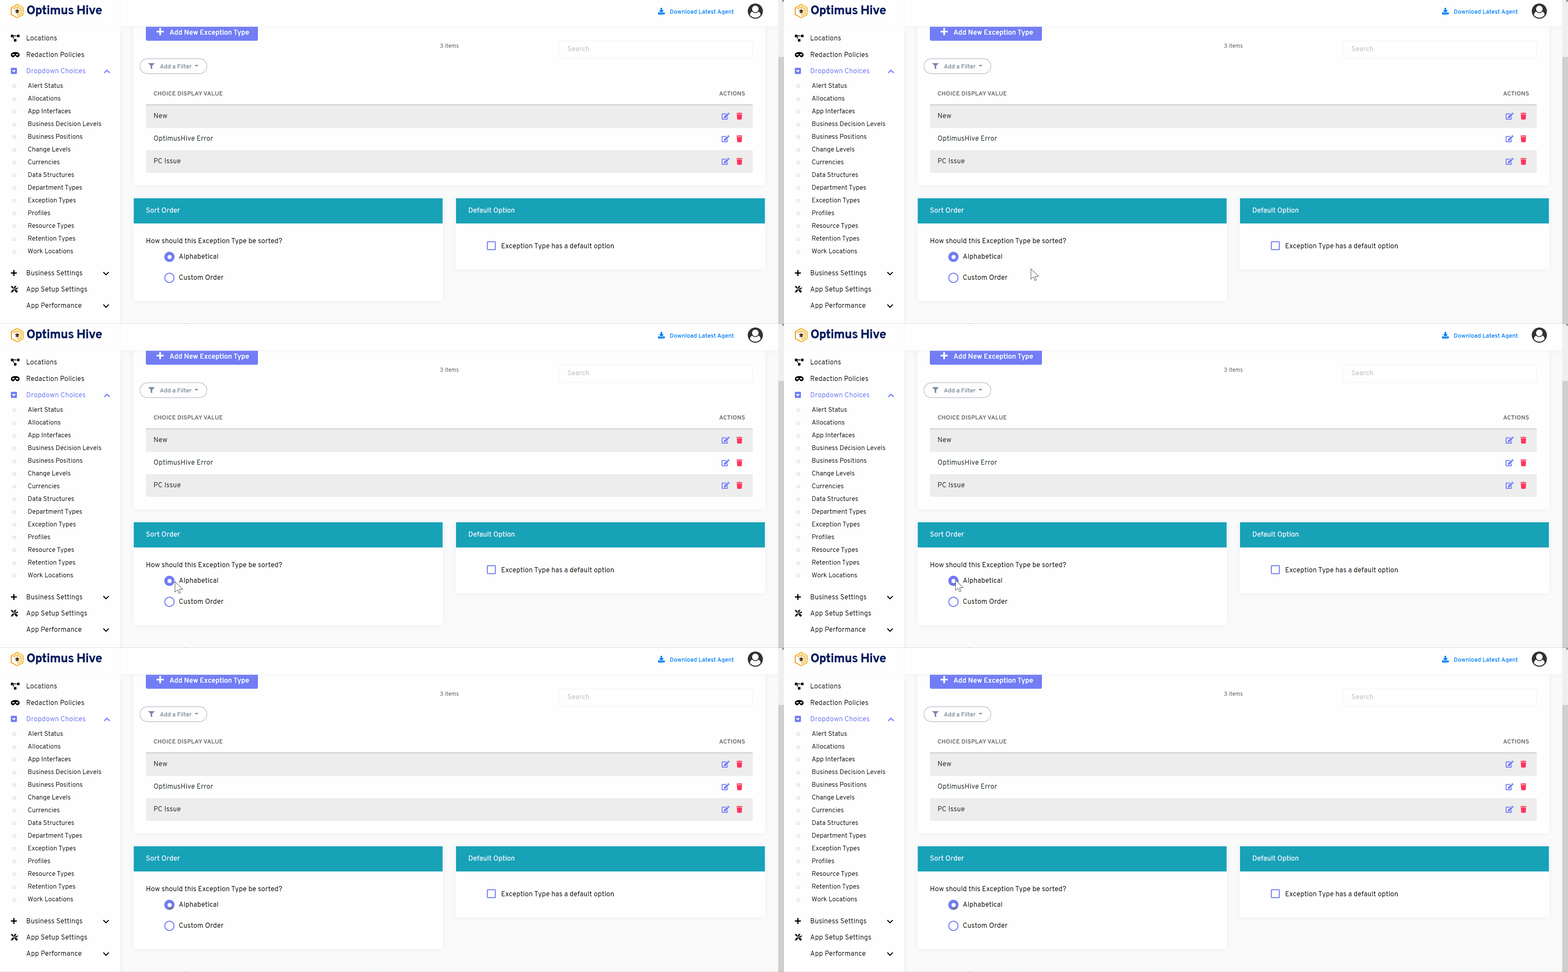
There are two options to sort values of the exception type. If the user wants to show values alphabetically, then click on an alphabetical button from the right side of the screen as shown below image.
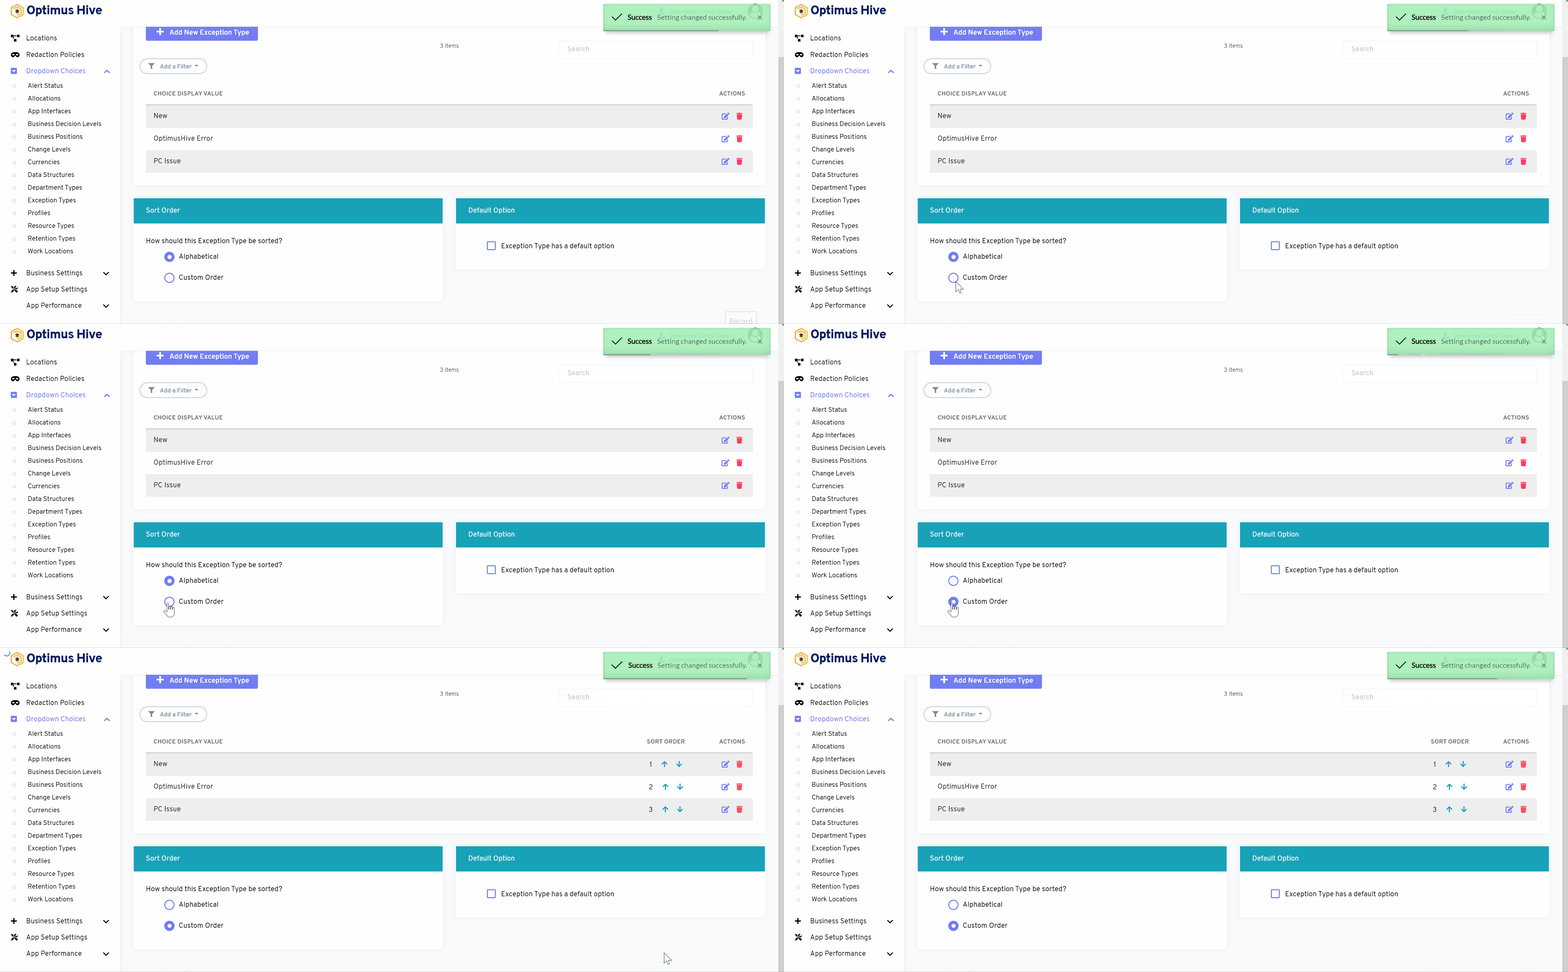
If the user wants to show values in a custom order, then click on the alphabetical button from the right side of the screen as shown in the image below.
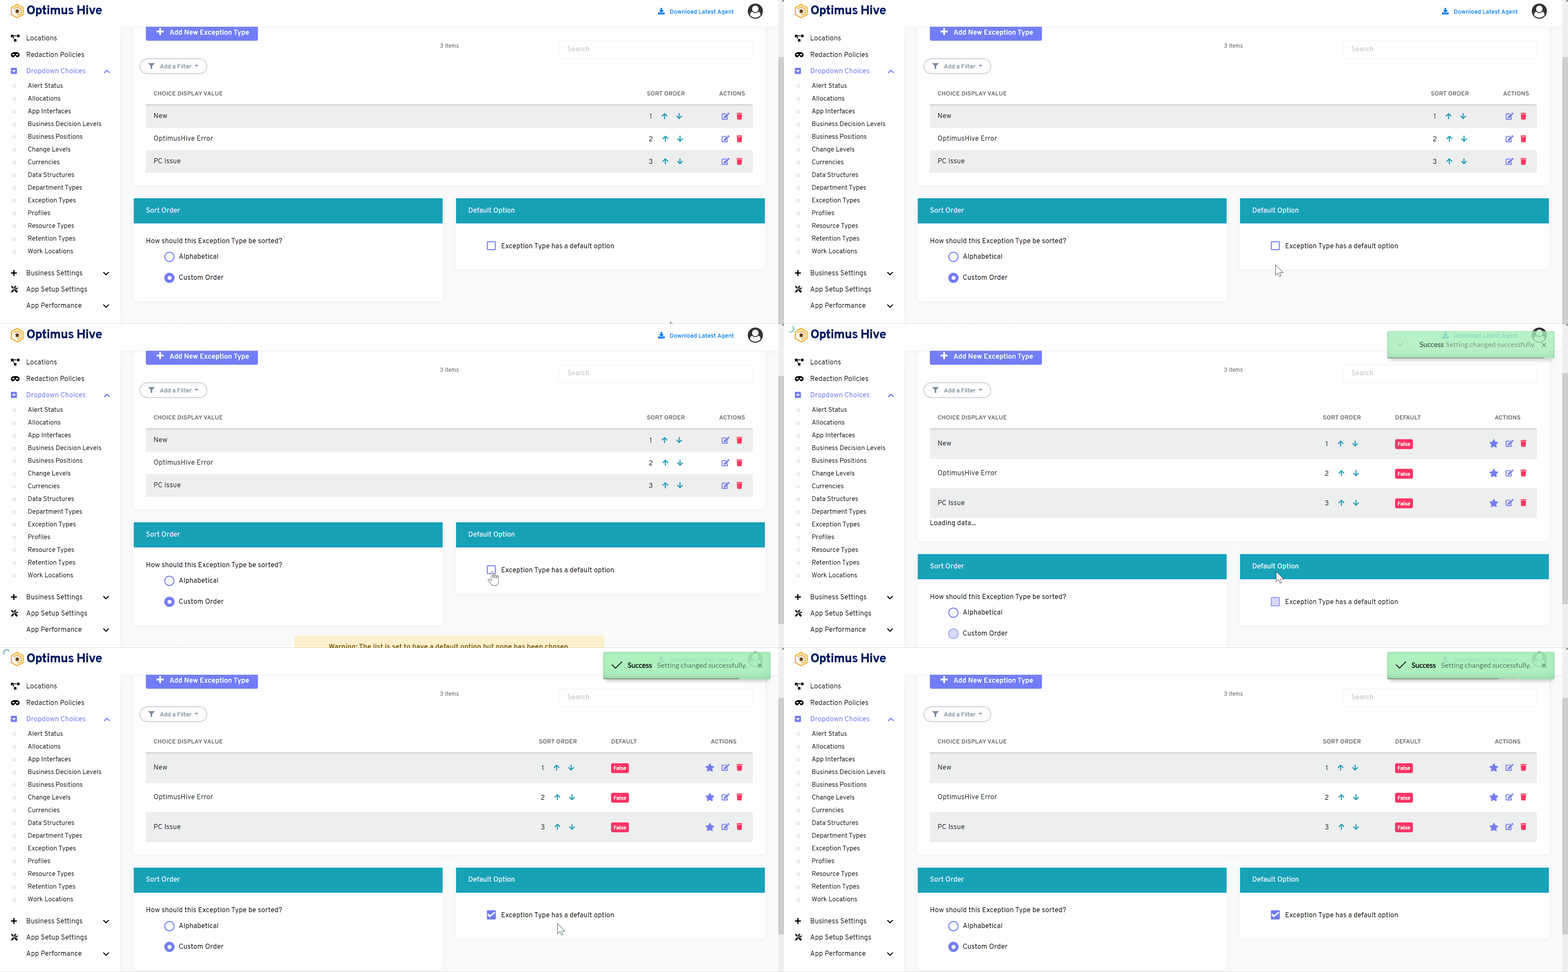
If the user would like to select default values then click on As default option button to select default values as mentioned in the below image.
How to add a new filter:
You can see add filter option on the top left side of the window.
What is each of the columns in the list?
- Choice Display Value: Description value for each allocation
