How can we help?
Customer Projects
what it is :
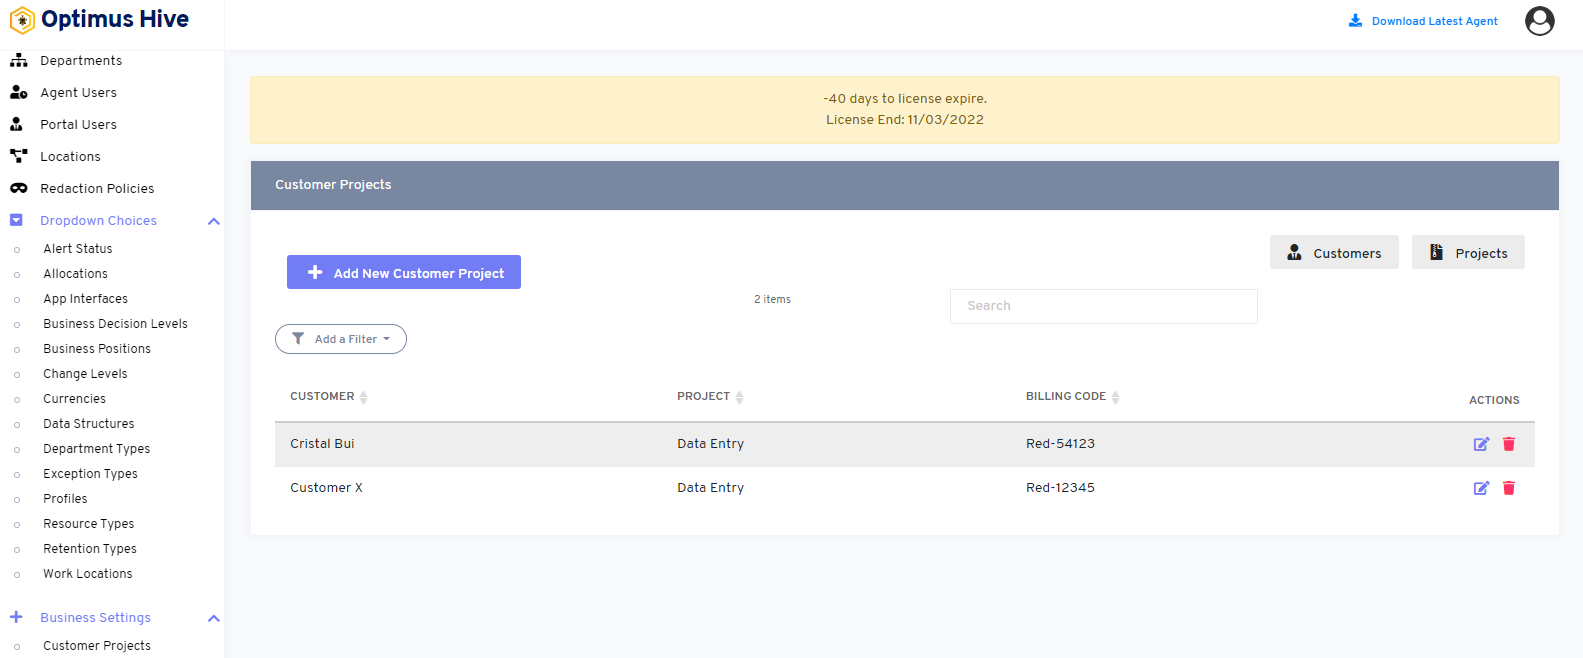
This area of the tool allows the company administrator to manage the Customers and Projects that are available in the reports that can be generated by the tool.
what it looks like :
why do you use it :
Customers and Projects must be added to the system before you can add a Customer/Project mapping on this screen. This feature is especially useful if the company will be using the Activity Capture or Task Capture features for client billing.
how you do it:
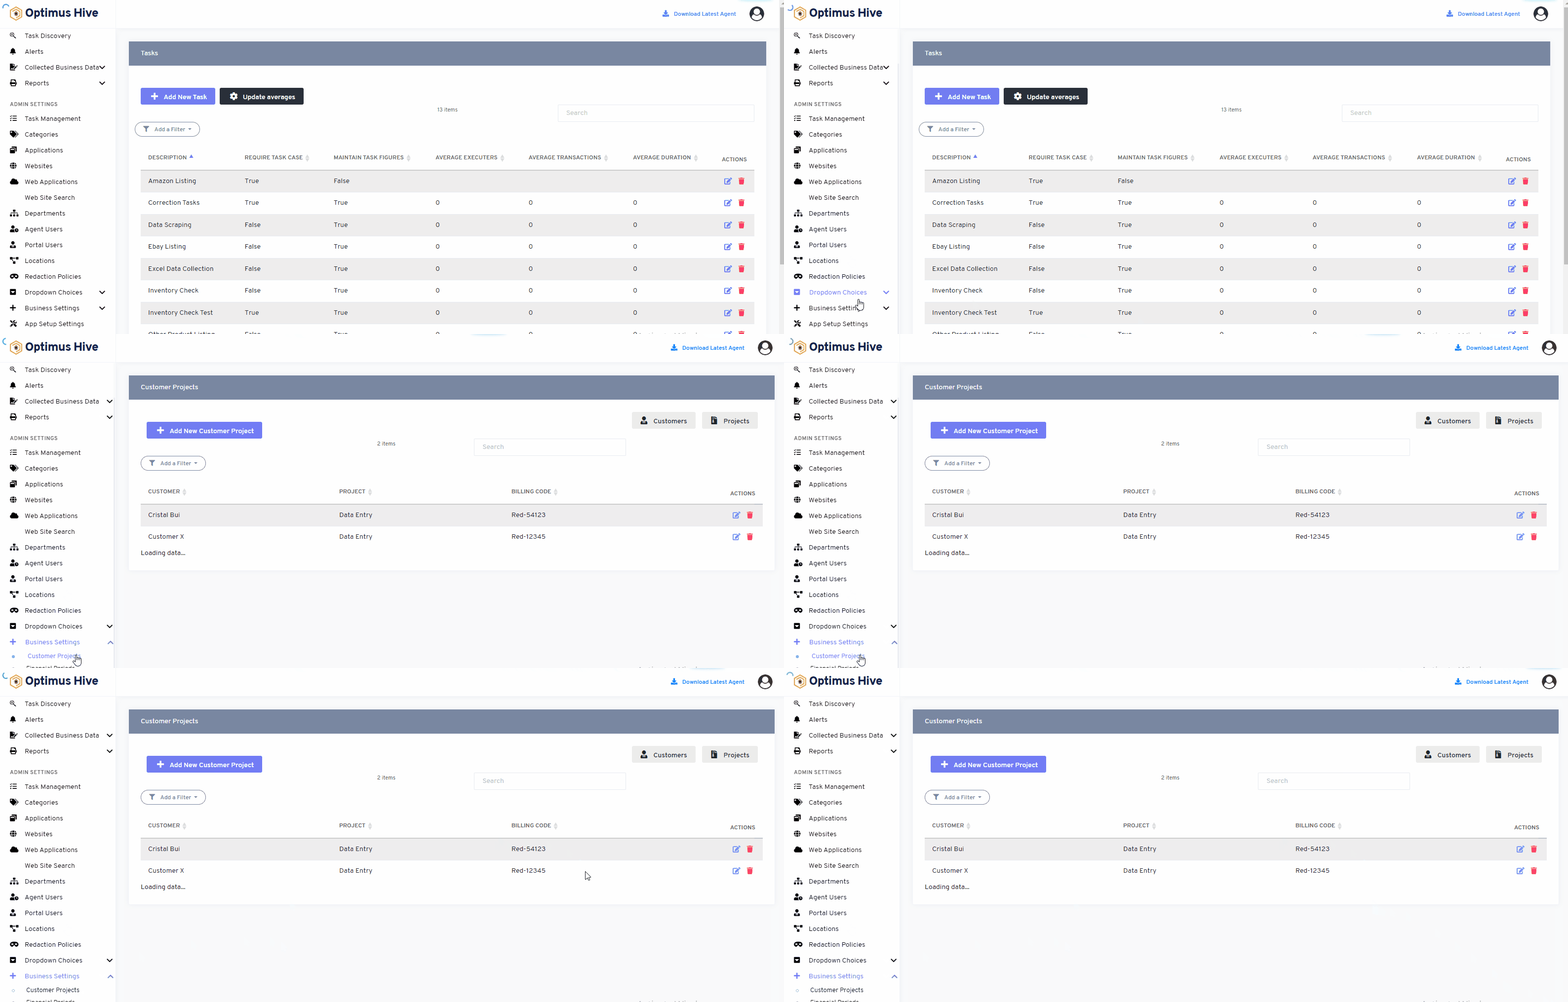
To add a new Customer or manage an existing Customer, click the Customers button in the upper-right section of the screen.
How to view customers:
How to add new customers:
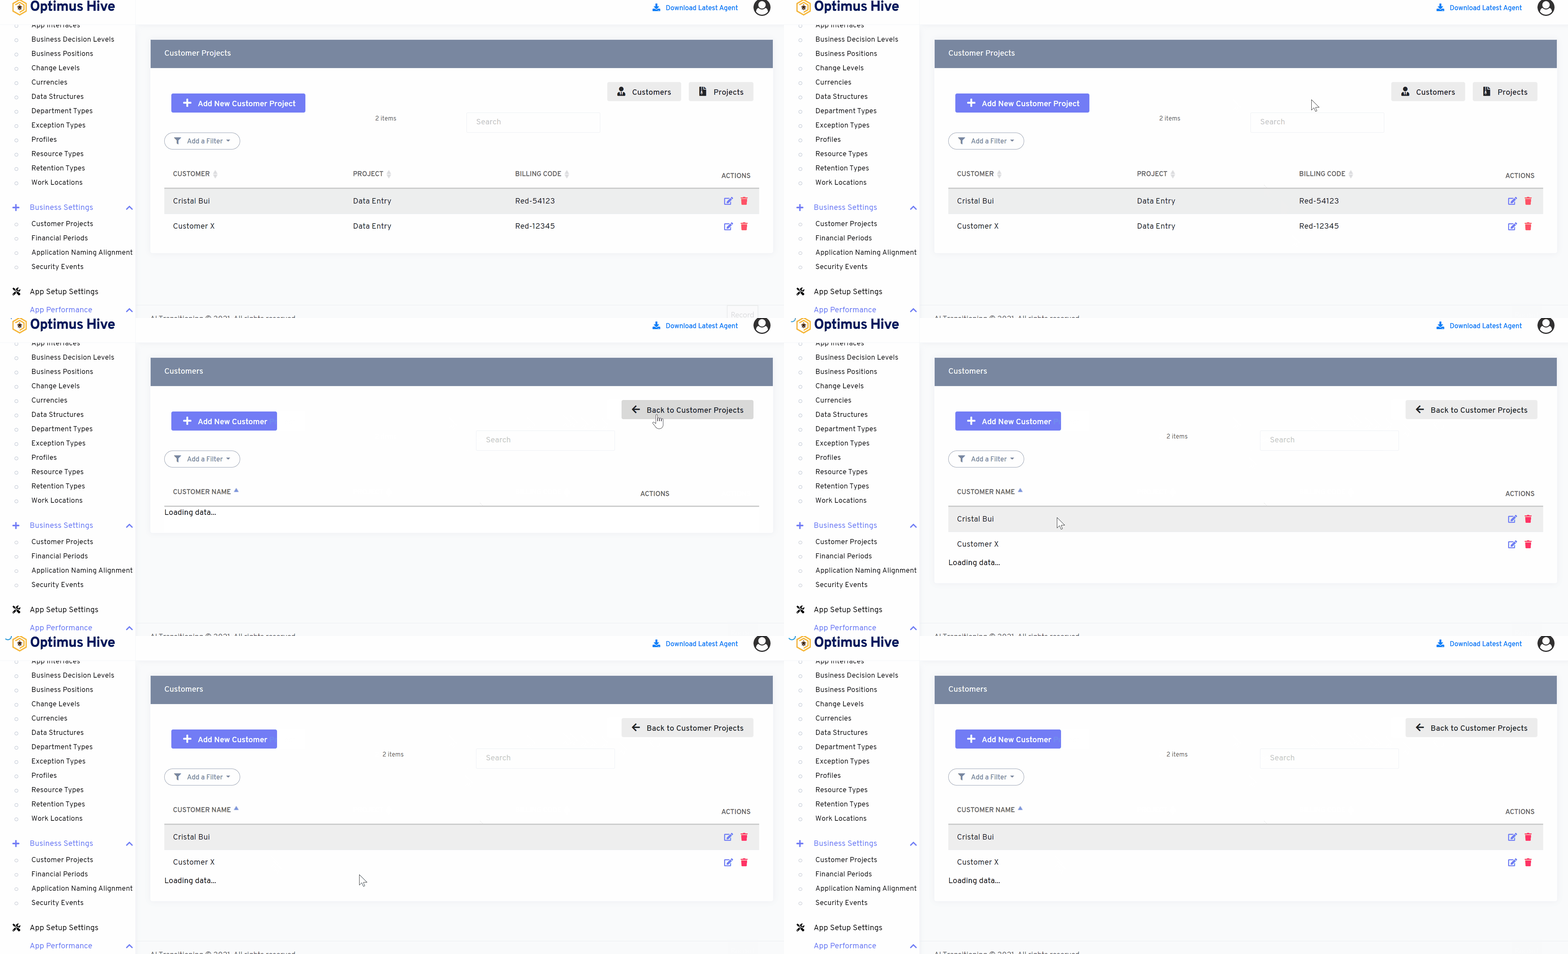
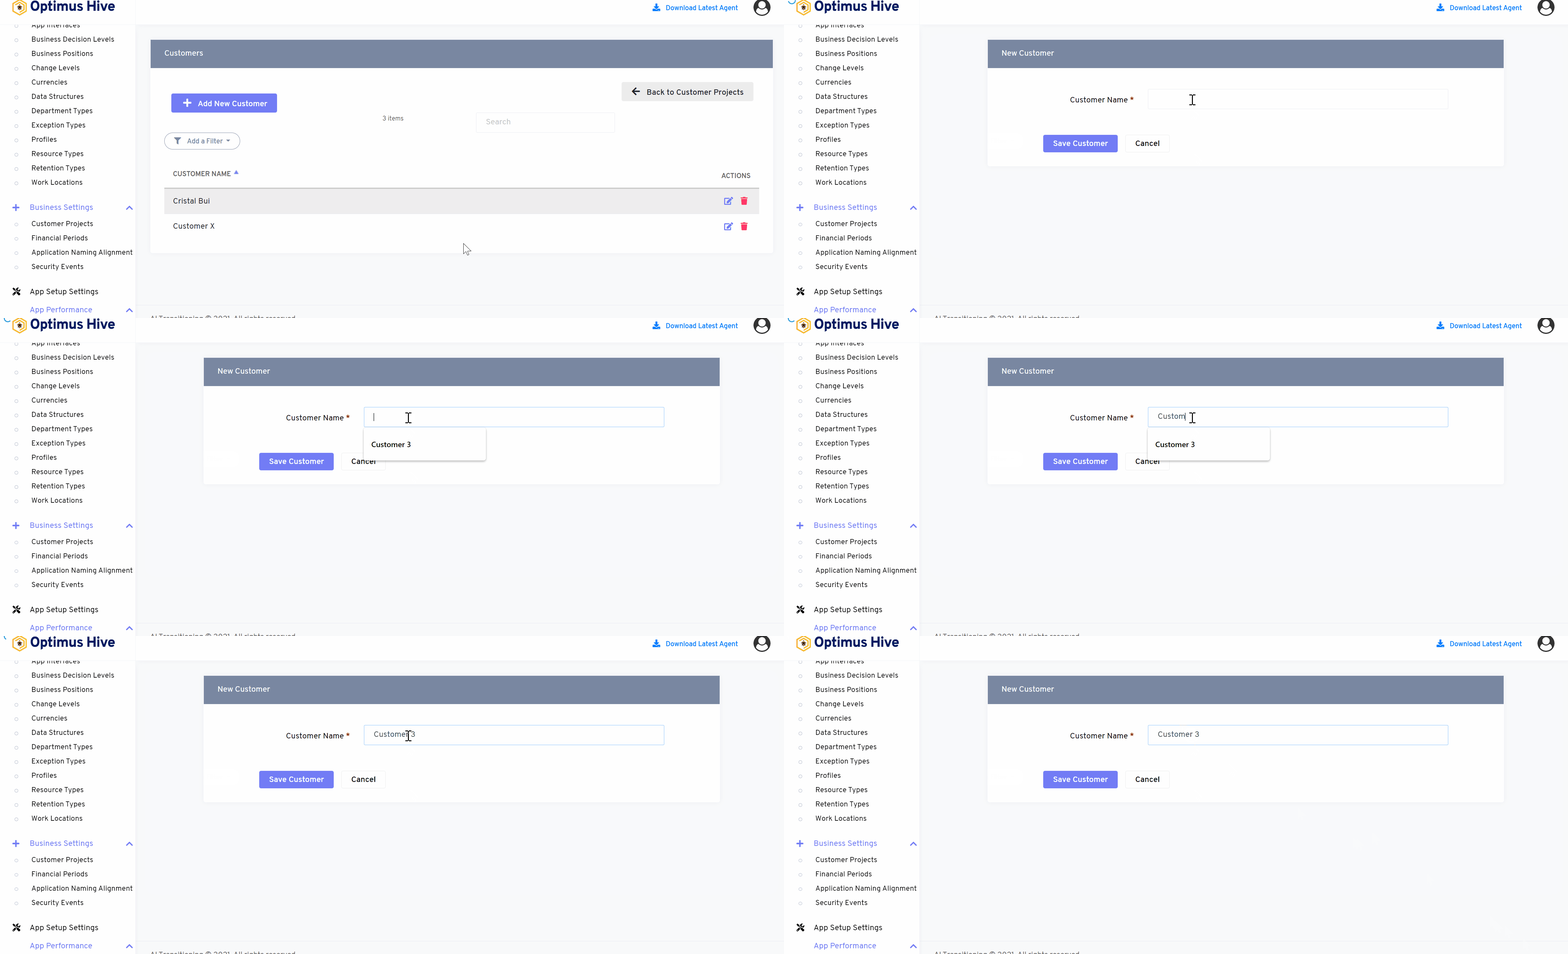
Once you have navigated to the Customers screen you can add a new Customer by clicking on the Add New Customer button in the upper-left section of the page.
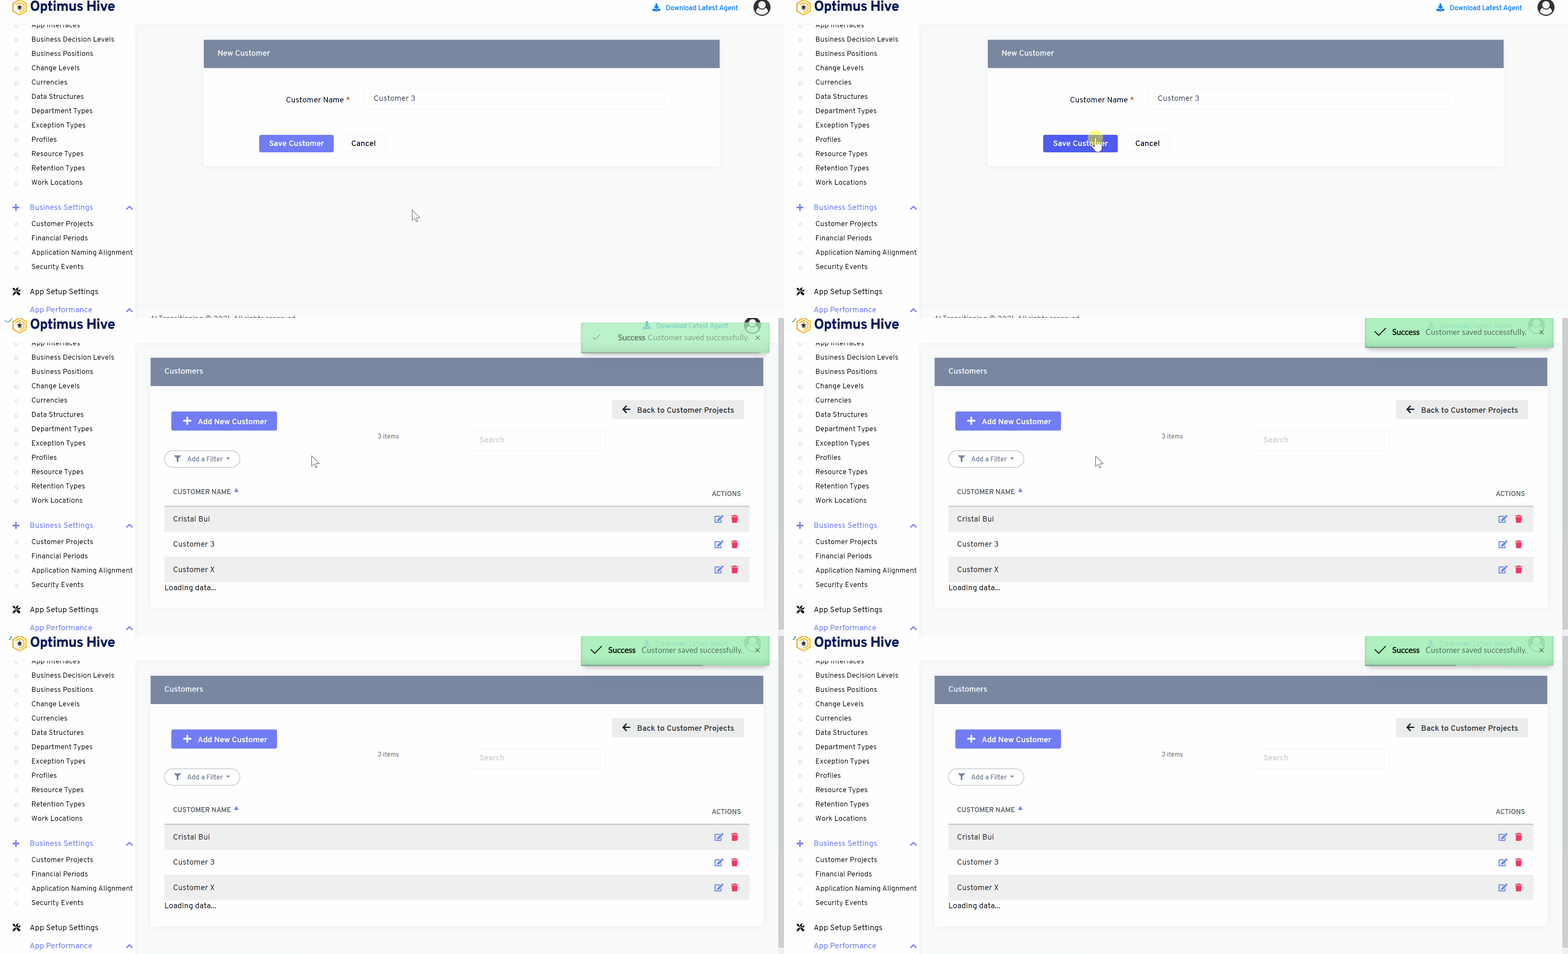
For instance:
Enter the new customer’s name in the Customer Name field and click the Save Customer button. For instance, add the customer Name “Customer 3” and save it.
How to edit the new customer:
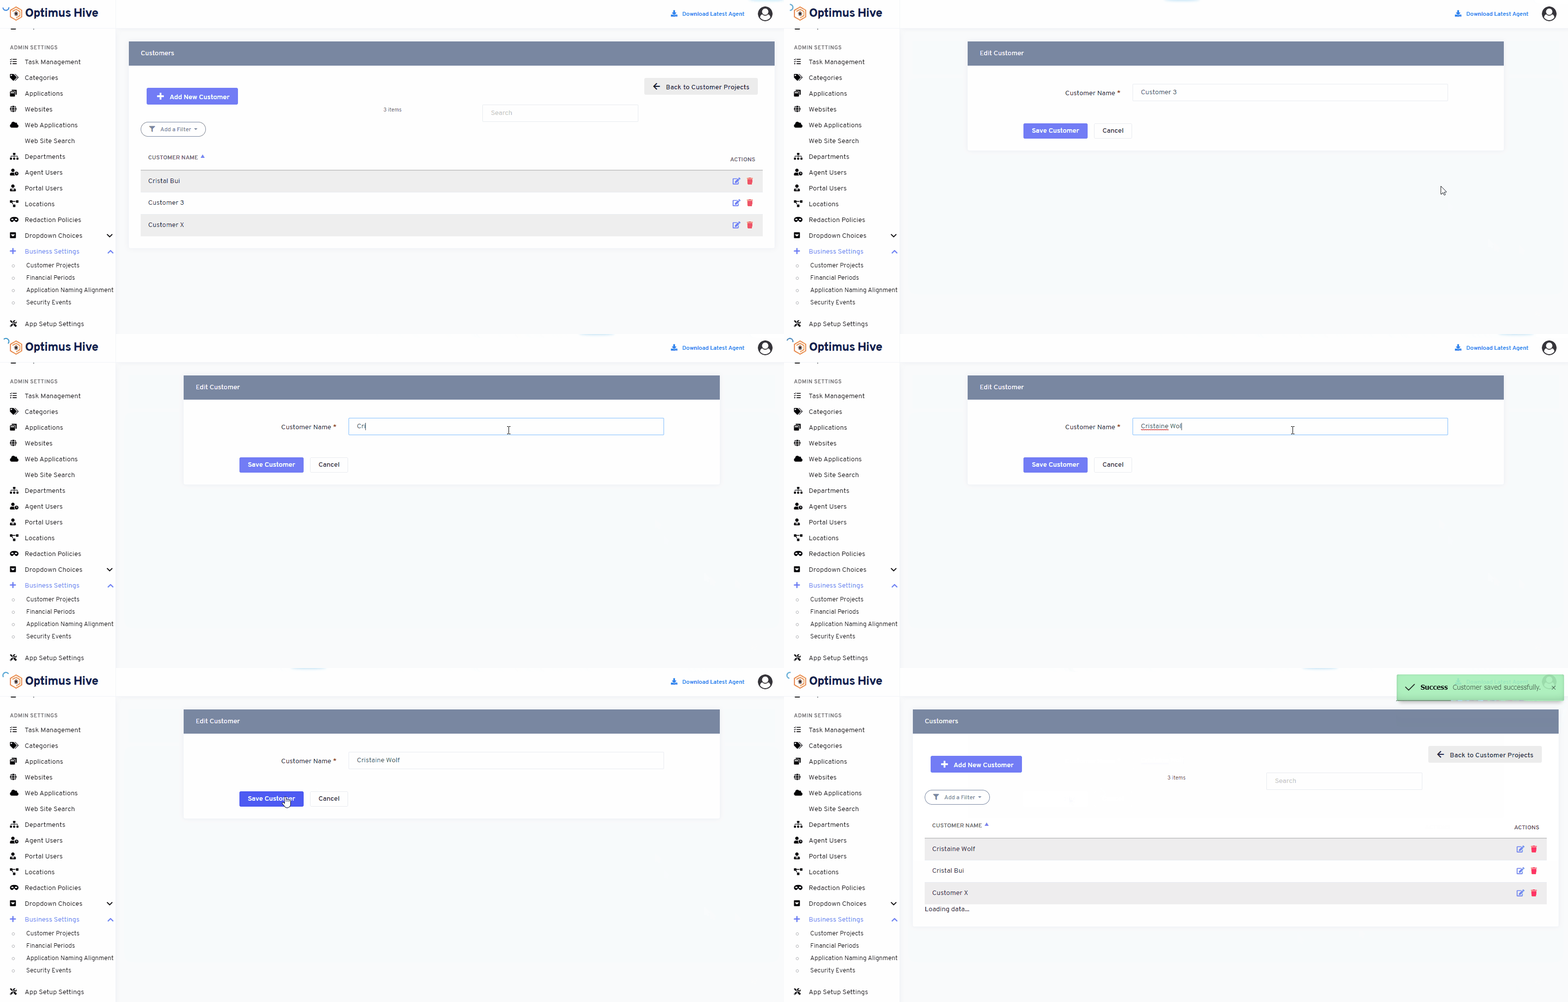
To edit an existing customer, click the Edit button under Actions, make the required changes to the Customer Name and click the Save Customer button.
What is each of the FIeld in the list?
- Customer Name: Name of each customer.
For Instance:
Edit the customer name “Customer 3” to “Cristaine Wolf” and save it.
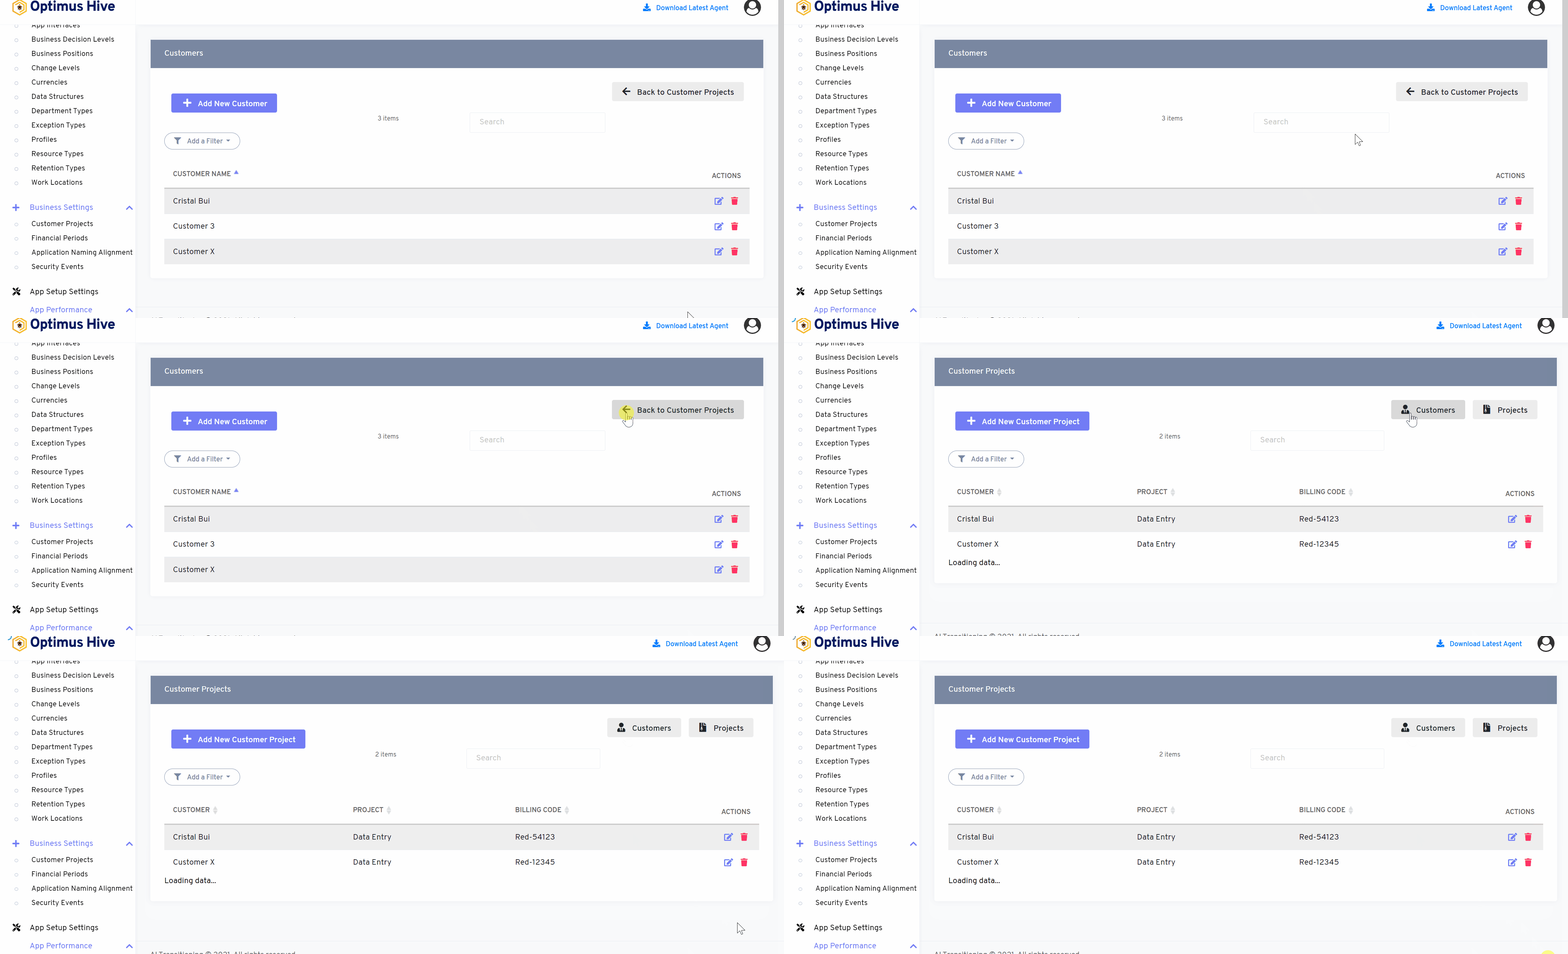
Once you have finished adding or updating the customer records, click the Back to Customer Projects button in the upper-right section of the screen.
Adding new project:
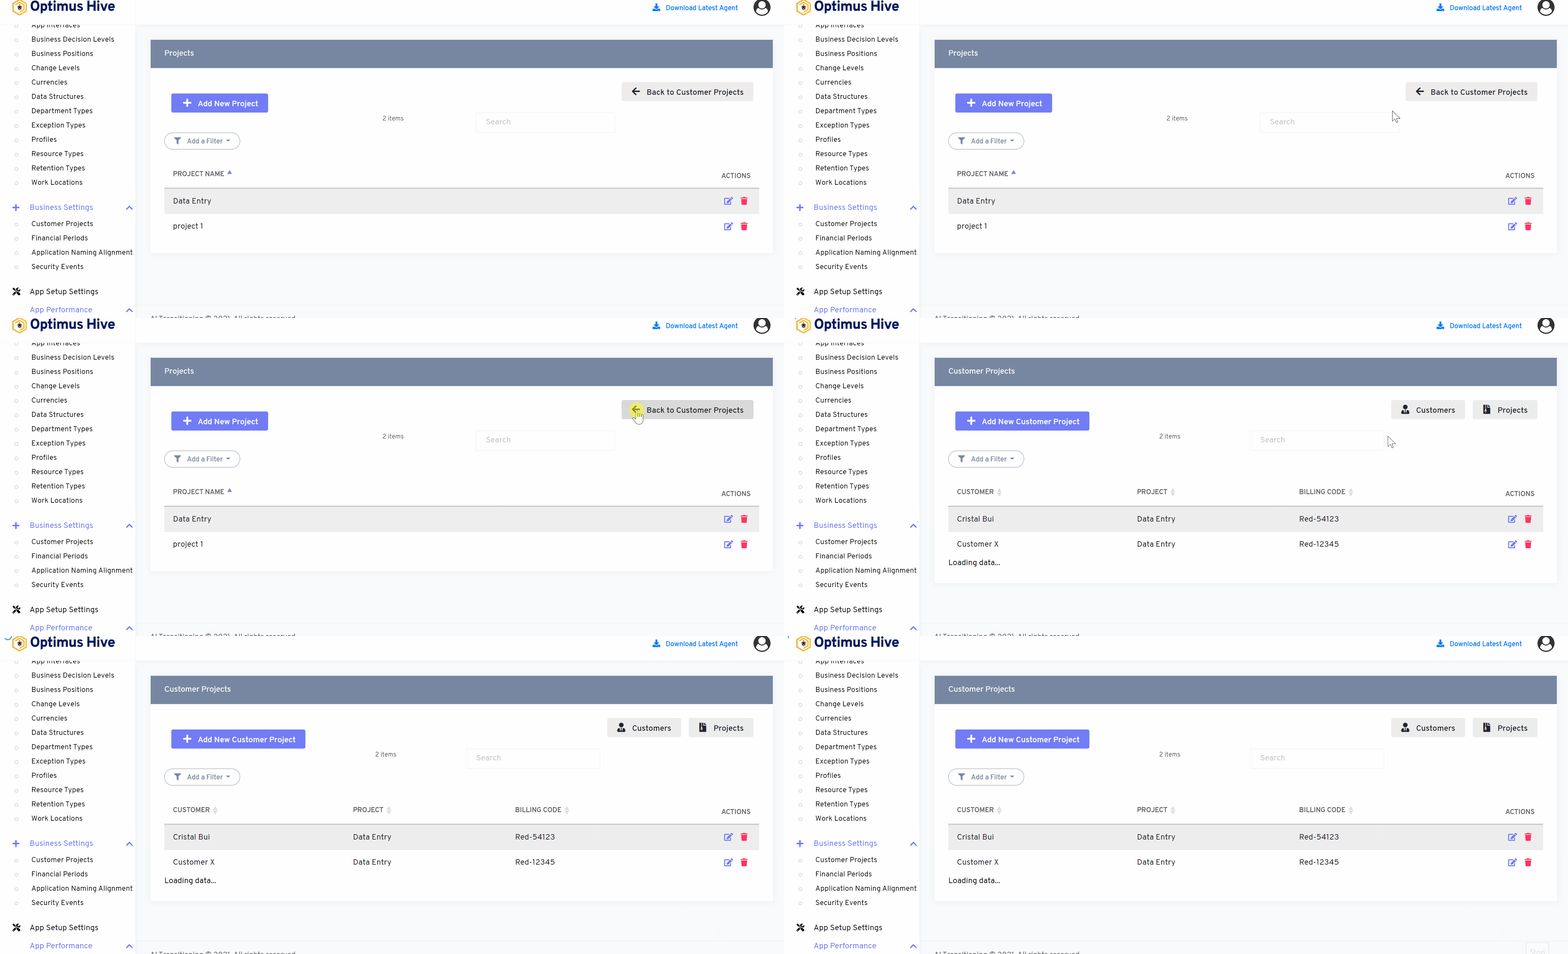
To add a new Project or manage an existing Project, click the Projects button in the upper-right section of the screen.
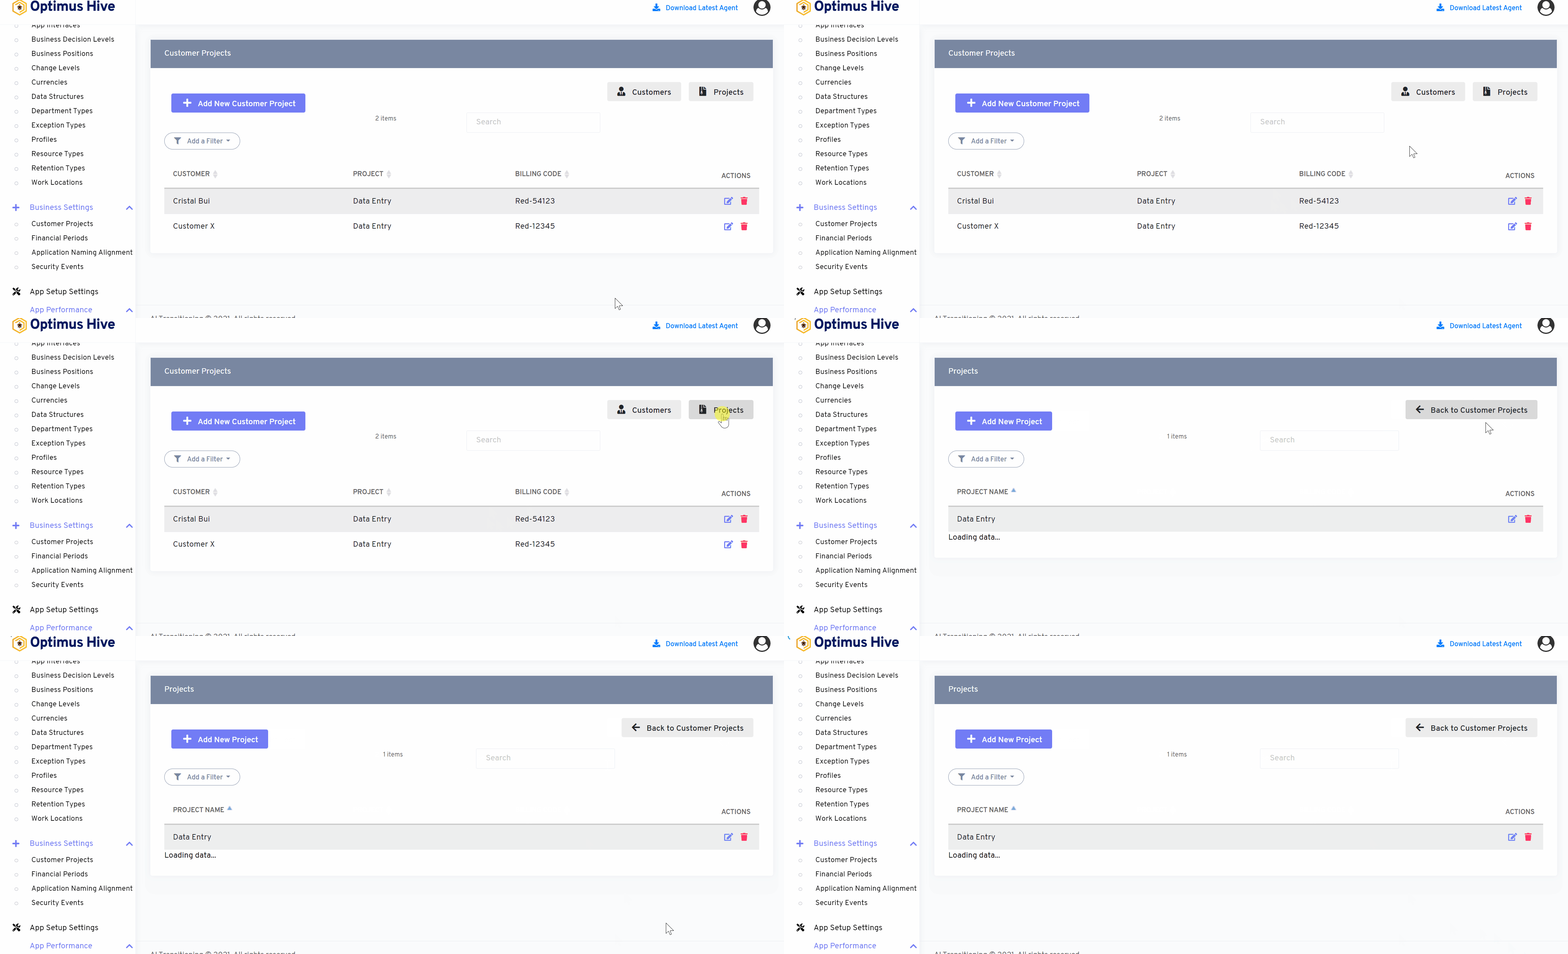
Once you have navigated to the Projects screen you can add a new project by clicking on the Add New Project button in the upper-left section of the page.
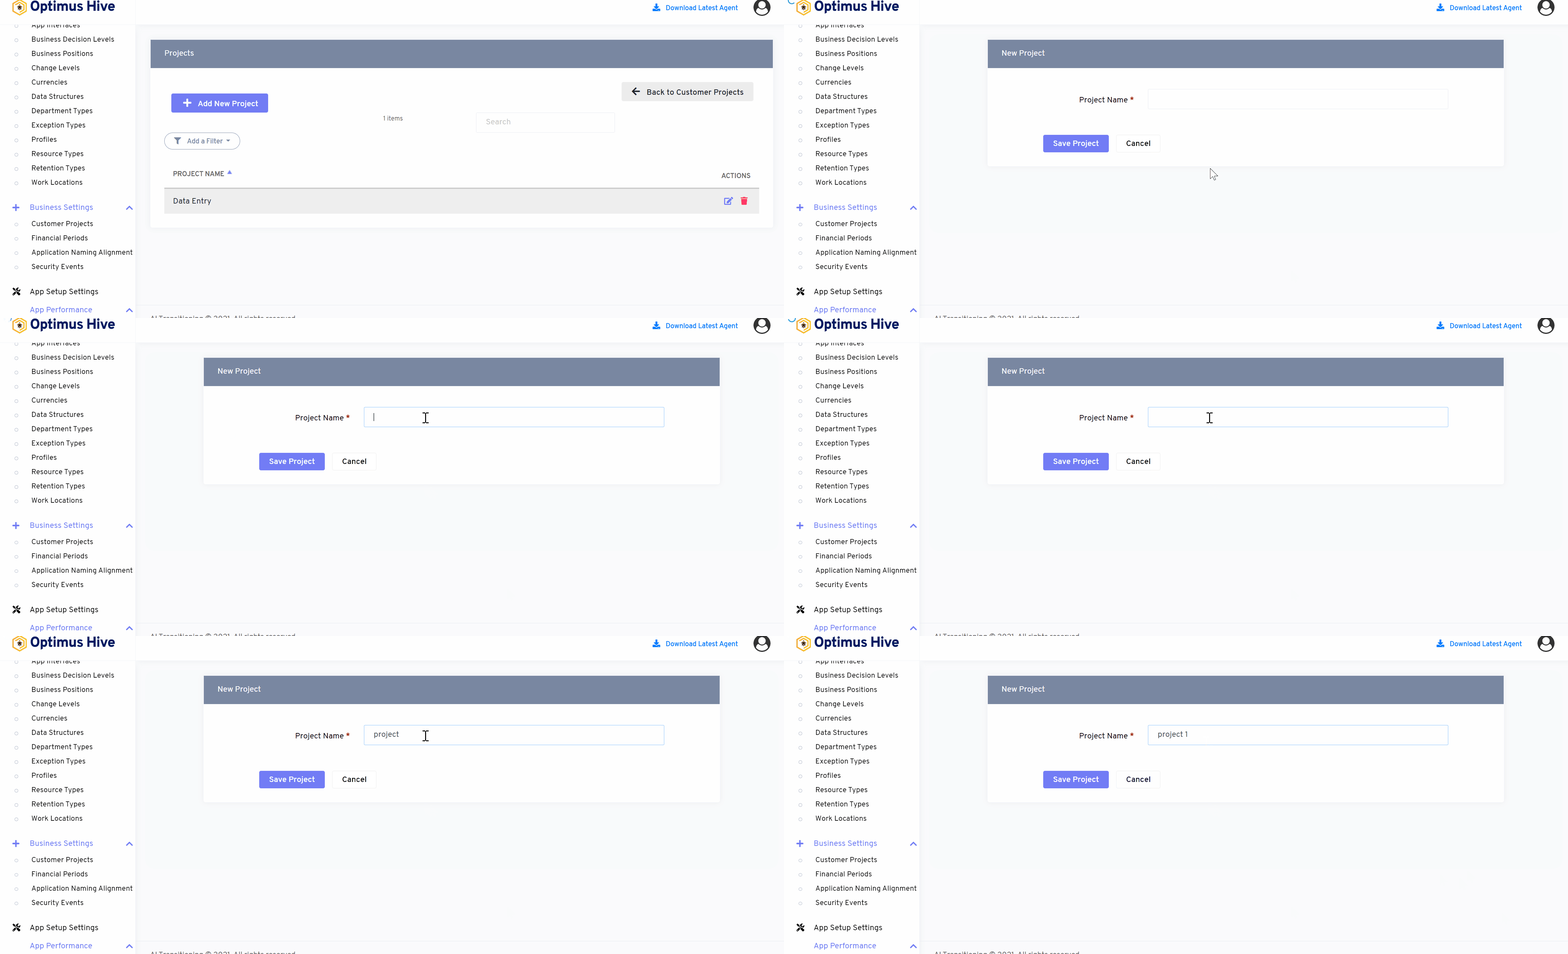
Enter the name of the new project in the Project Name field. For instance, “project 1” and click the Save Customer button.
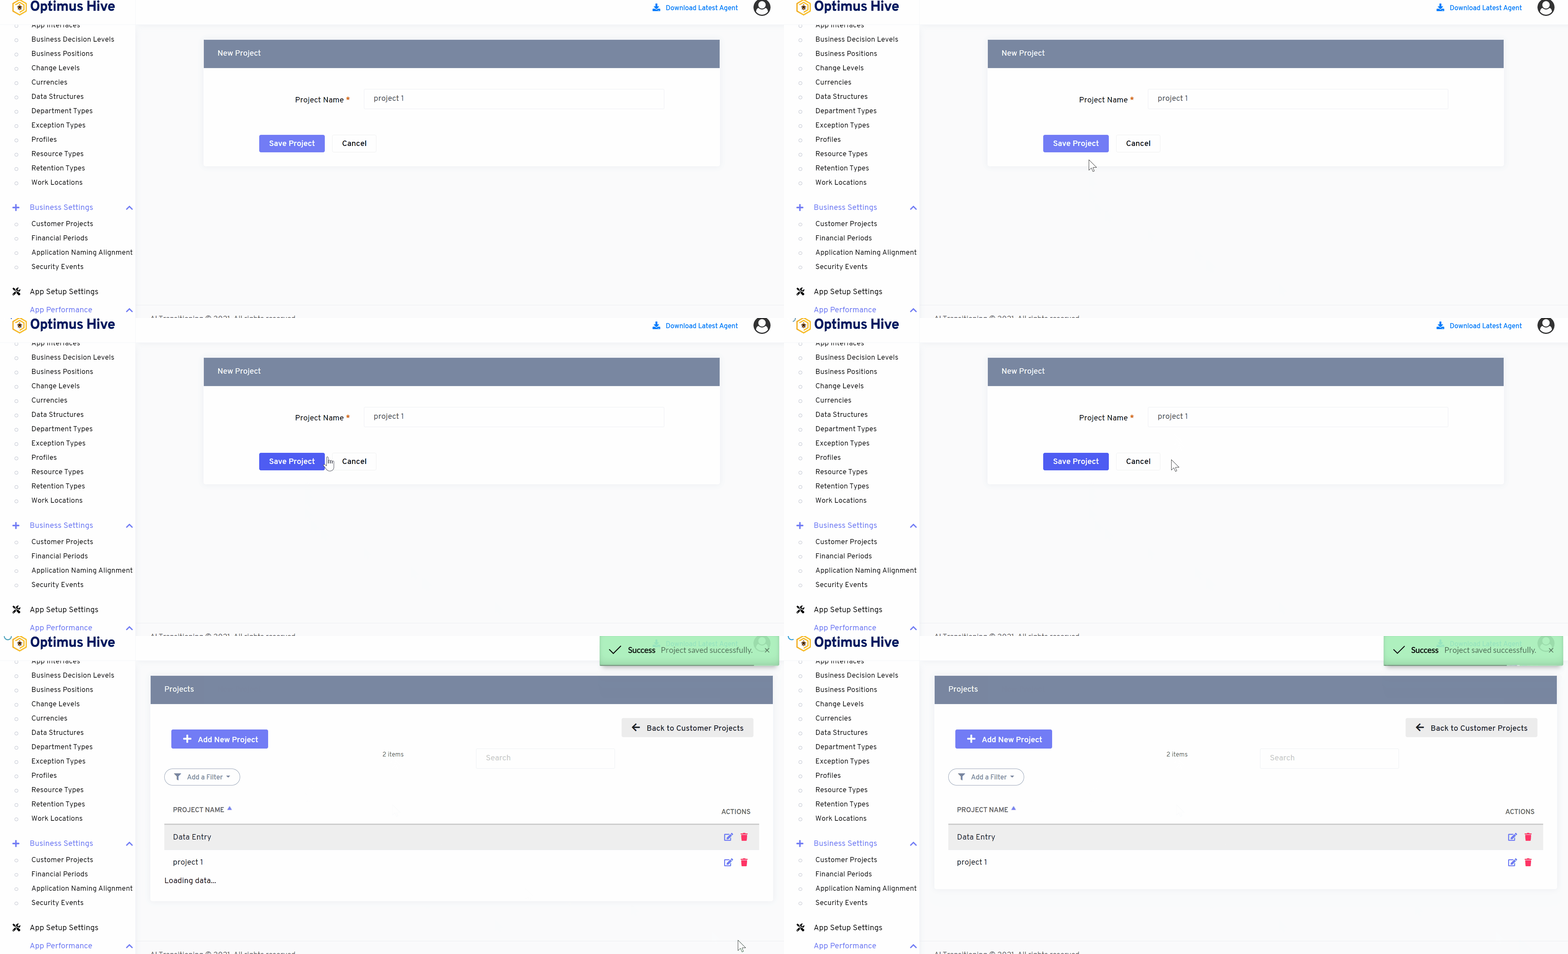
How to edit the project:
To edit an existing project, click the Edit button under Actions.
What is each of the FIeld in the list?
- Project Name: Name of each project.
For Instance:
Edit the Project Name as “Project” with “Sys Notification” and click the Save Project button.
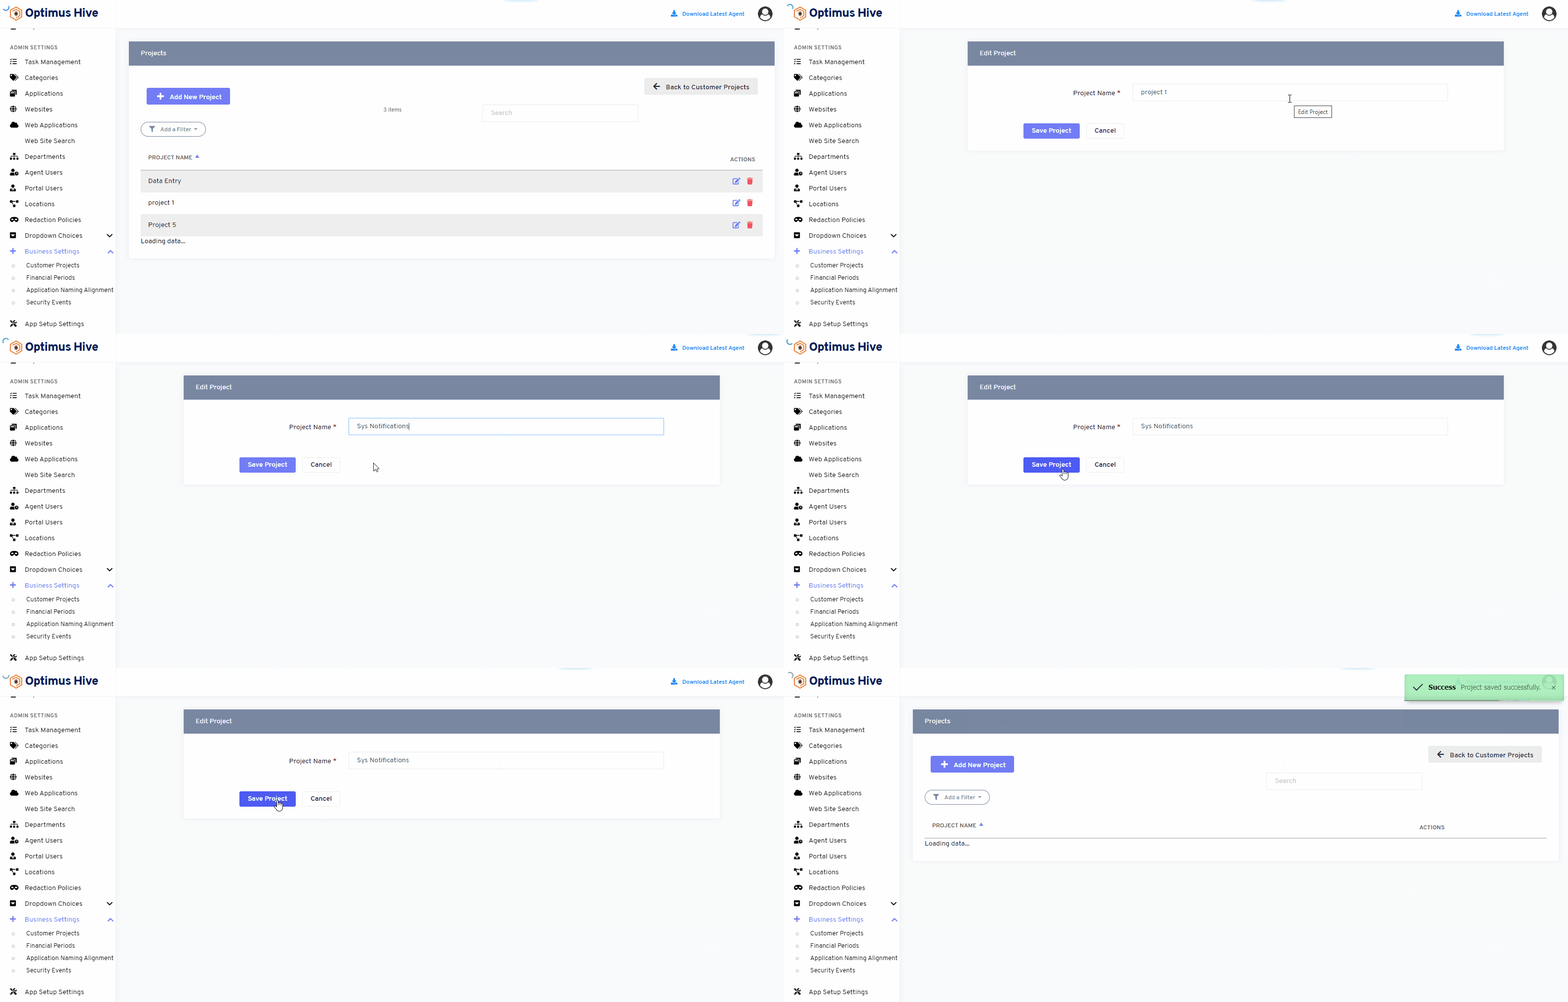
Once you have finished adding or updating the project records, click the Back to Customer Projects button in the upper-right section of the screen.
Add new Customer Project:
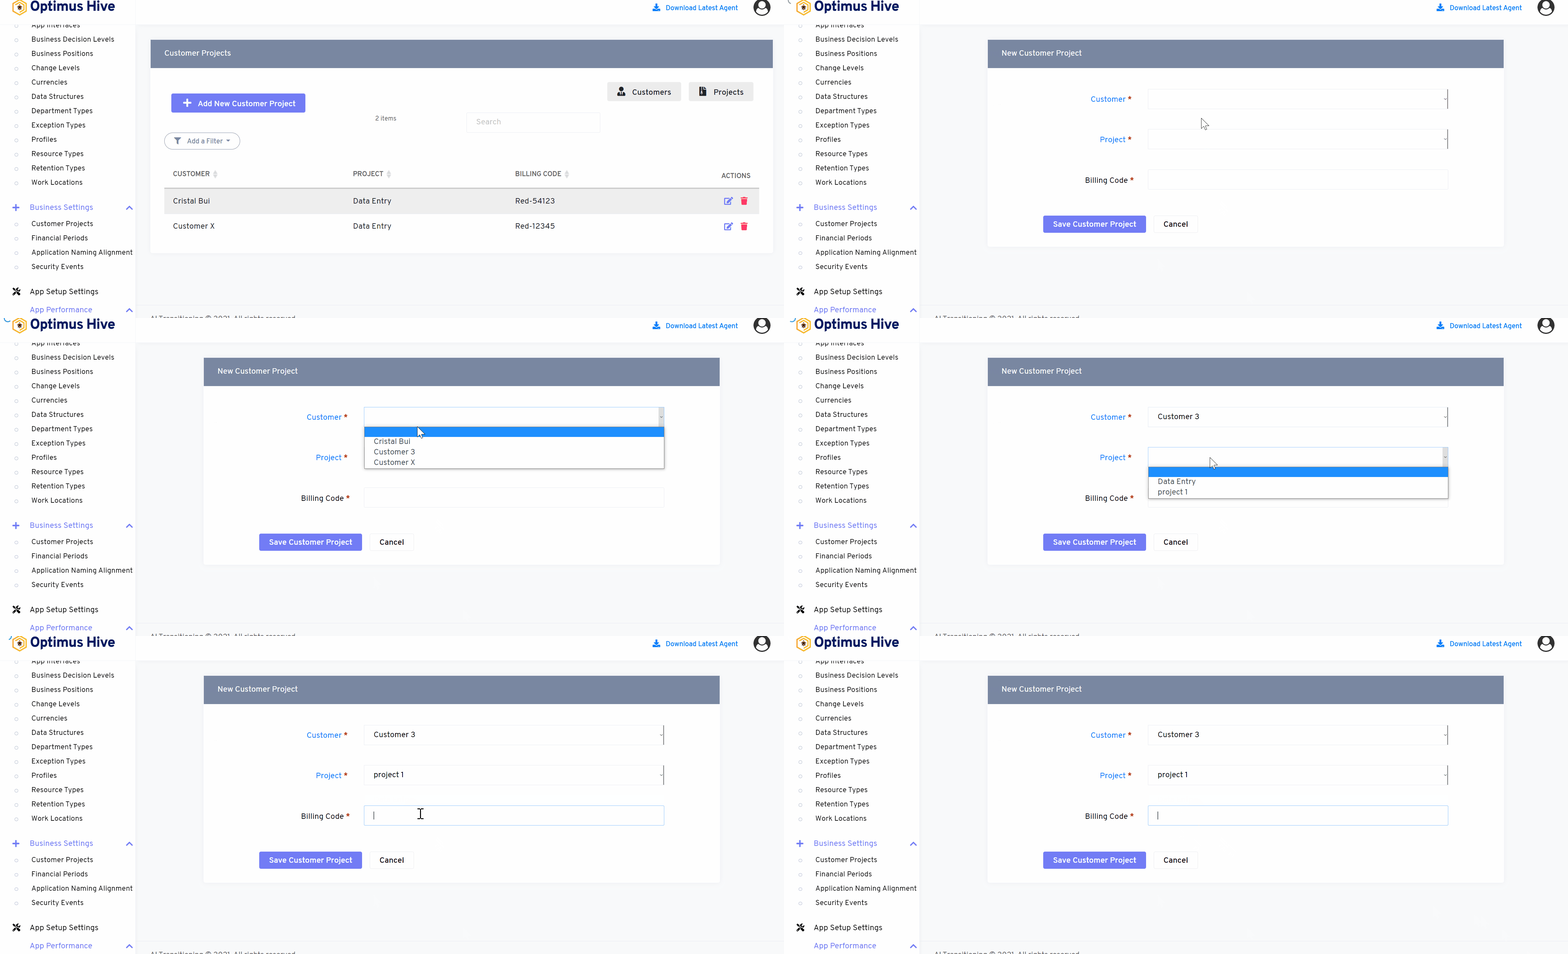
Once you have defined the Customer and the Project, you can associate the project with the appropriate customer and add any billing codes by clicking on the Add New Customer Project button in the upper-left section of the screen.
What is each of the FIeld in the list?
- Customer Name: Name of each customer.
- Project Name: Name of each project.
- Billing Code: Unique identity code associated with the customer and project.
For instance:
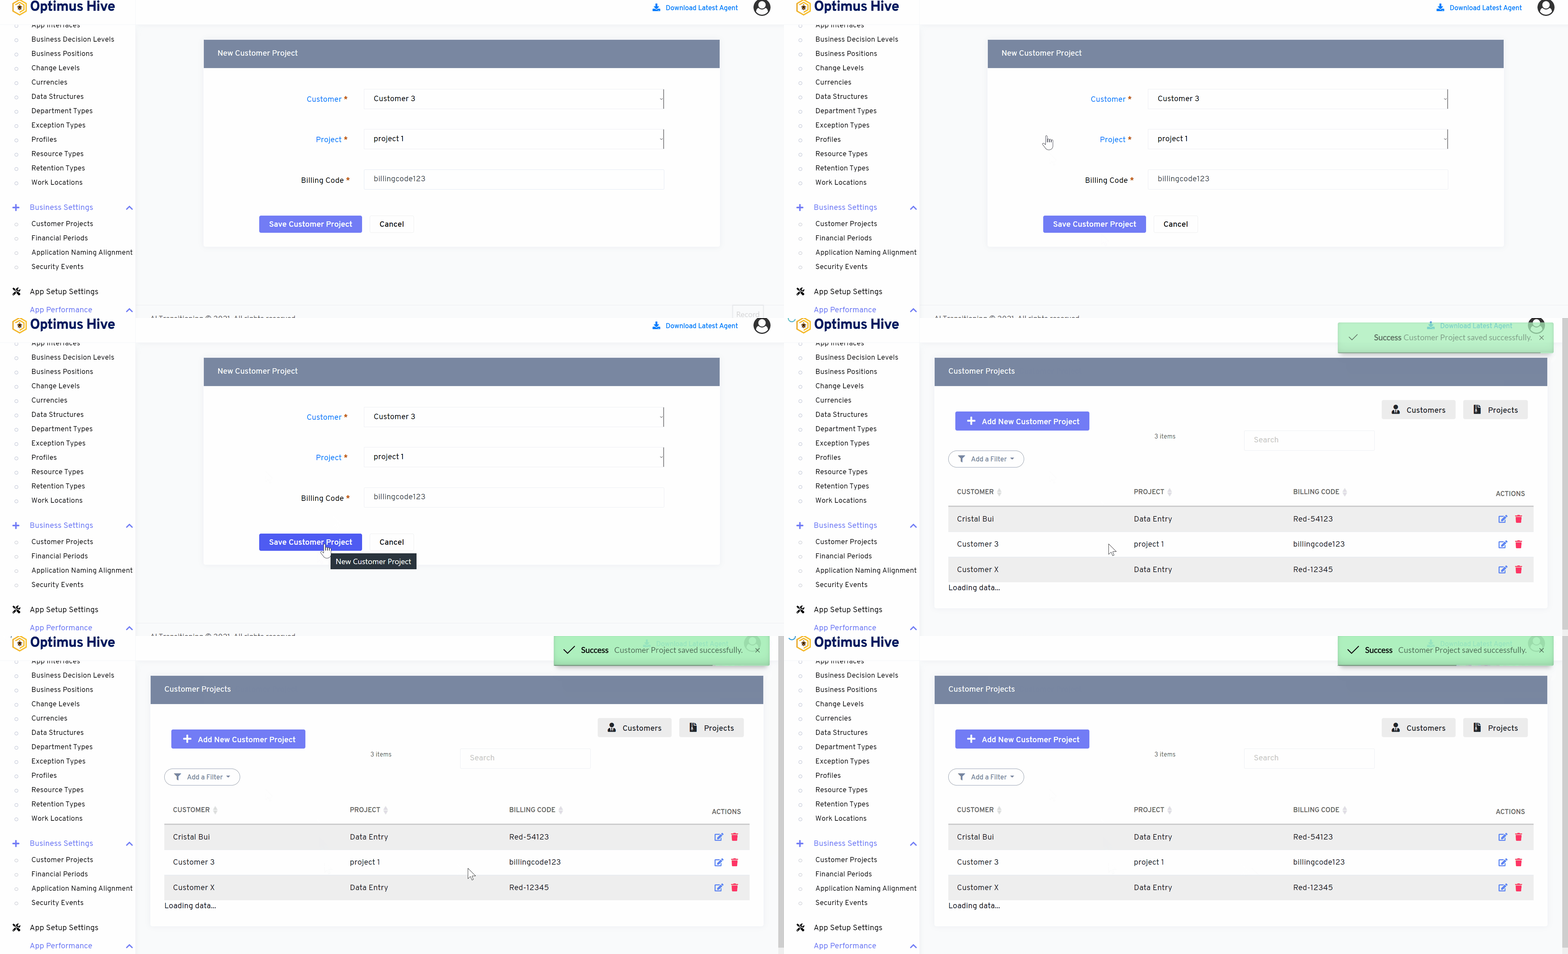
Select “customer 3” and “project1” in the appropriate dropdowns and add the billing code for that customer/project mapping.
If you do not use billing codes, you can populate this with any alpha-numeric designation that helps you identify the records and associate the time collected to that mapping record. Once all fields are populated, click the Save Customer Project button to save the mapping record.
How to edit the customer project:
To edit an existing Customer/Project mapping, click the Edit button under Actions, make the required changes to the mapping record and click the Save Customer Project button.
What is each of the FIeld in the list?
- Customer Name: Name of each customer.
- Project Name: Name of each project.
- Billing Code: Unique identity code associated with the customer and project.
For instance:
Edit the customer “Cristal Bui” and project “Data Entry” with the new billing code “Data_entry121” for that customer/project mapping.
